

How to write a readme for your GitHub project
Proper documentation is a necessity for a developer.


A readme is a file that one should read before starting a project. A readme is like a manual that contains useful information about the project. A good readme helps others understand what your project is about. It introduces and explains a project.
Am a beginner. Why should I care about readme files for my projects?
As a beginner, I thought I didn't need a readme for my code since it's just for me. Even if the code is just for you, you will come back to it later. Having a readme for it will help you know what it was about without wasting your time on recalling what it was all about.
A good description for your projects makes you visible to your recruiters in your career stage, even a non-technical recruiter will be able to check the technologies used. So let's endeavor to pay attention to the description of the project.
How do I make a readme?
The most common way to write READMEs is by using Markdown. The .md extension comes from the word markdown. Markdown is a markup language for text formatting. For guidelines, you can format your description into the following topics:
Title.
Have a title for your project. It's usually a project's name with an H1 prefaced with #. The internal titles should be written down with multiple of # in our readme. The number of the hash symbol will increase the heading type for example;
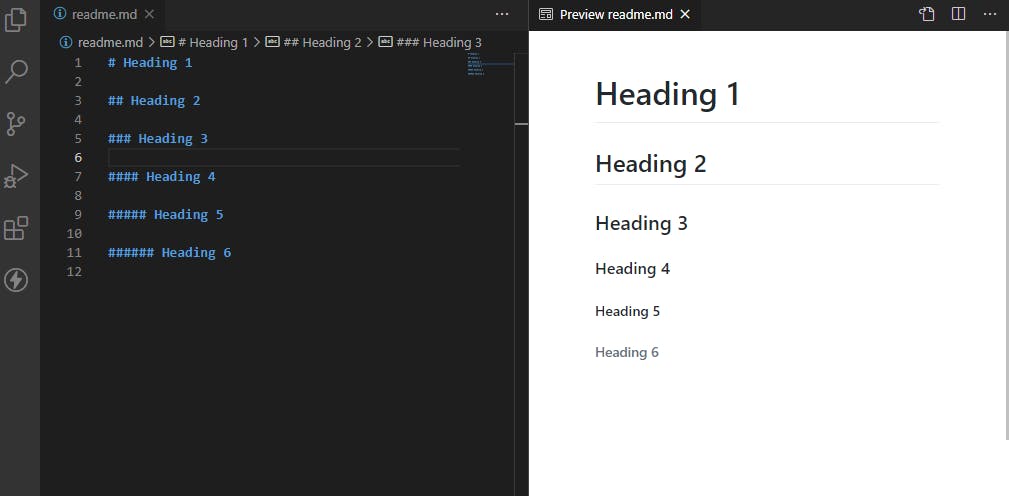
Table of Contents.
It can work as a simple list with links to headings.

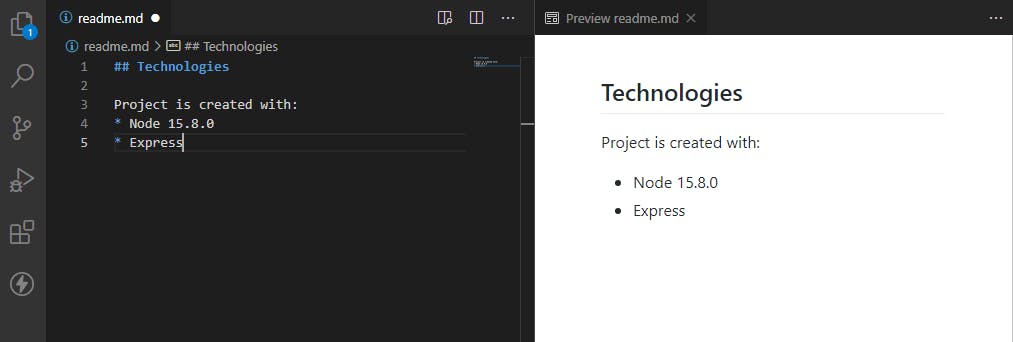
Spaces will become a sign - as seen in the example above. The * is used for an unordered list. - and + can also be used to make an unordered list.
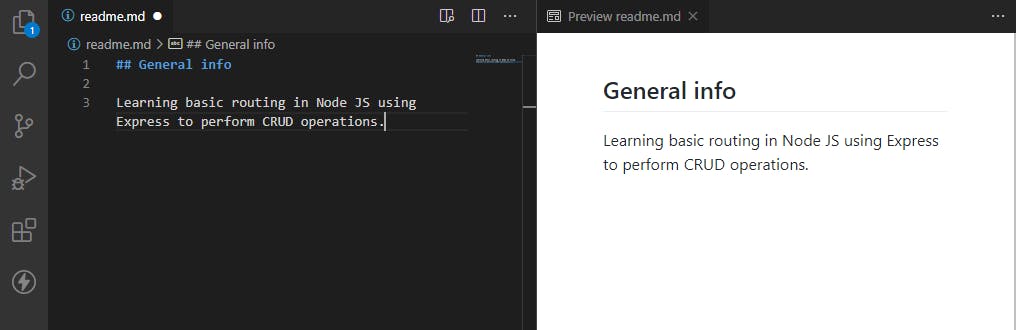
Description.
Let people know what your project can do. It shouldn't be too long. Describe the aim of the project and what problems it solves.
Technologies used.
Write down the languages used, the libraries, and the version.
Installation.
Consider the possibility that whoever is reading your readme is a novice. Listing down the steps makes it easier for people to use your project as quickly as possible. Have a code block that shows what needs to be typed to install the software. Use triple backticks.
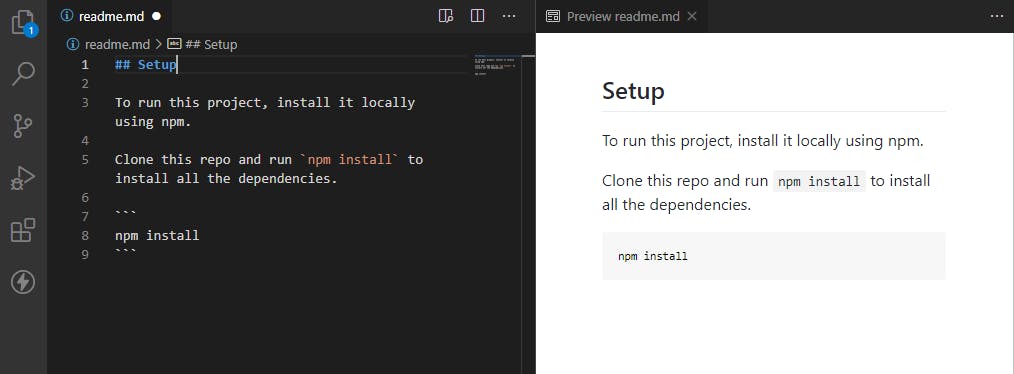
There is no need to add any tags if you are writing normal text as shown in the example above. You can also call out a command in a sentence with single backticks and the text within the backticks will not be formatted.
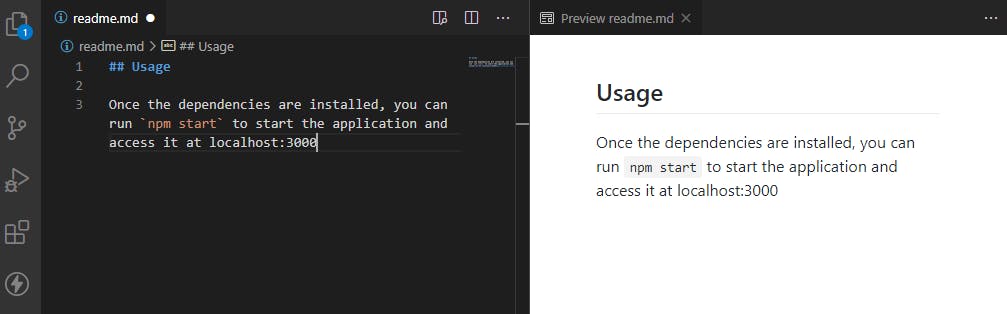
Usage.
Besides installation, having a usage section too is essential so that people can figure out what to do after the installation process.
License and author information.
It's a good idea to include license information in your readme to clarify the legal status of your project. You can provide author information like Twitter and email.
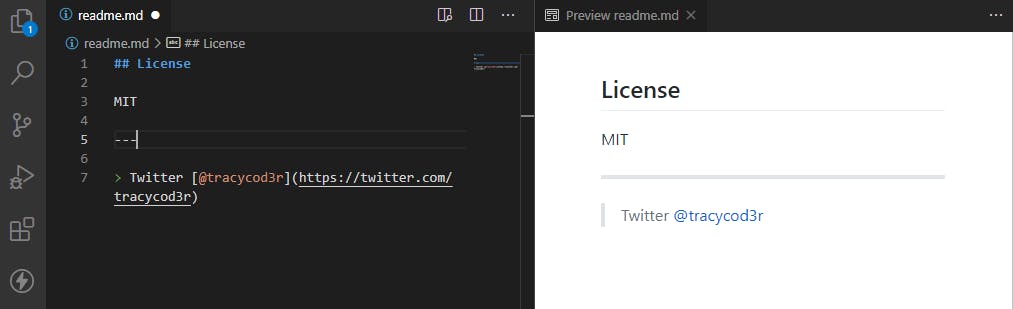
In the example above, I used horizontal rule (---) to separate the license and author information. If you want to add a horizontal line, you can use --- or ***. *** is used for a thicker line.
For the author information, I quoted my text with > and used an inline link by wrapping the link text in square brackets [] and then wrapping the URL within the parenthesis ()
I learned how to write a readme last week, and just like I commit to coding for some minutes every day, I'm committing to writing a readme for each project.
For the examples in this article, I used VS Code as the tool and Markdown Preview Github Styling extension to preview my readme. If you don't have the extension, install it in VS Code.
Conclusion.
The sections above are some of the suggestions for a good readme. Every project is different, so you need to consider which sections to apply to your project. Let's normalize writing readmes for our projects. Good documentation is a good practice for developers. Go through the Markdown guide to get started with writing a readme.
Thanks for reading!! As usual, until next time.